 Skip to content

Are you admiring that first batch of kombucha you’ve created? Though you can enjoy it as it is, have you ever tasted the kombucha that pops with fruity flavours and has that amazing fizzy kick? That's where the magic of second fermentation comes in, which upgrades your homemade brew from a tangy tea to a flavourful delight.
This blog is your guide to kombucha second fermentation. From exploring how to do it right to experimenting with different flavours, you will learn everything you need to know to achieve that perfect brew.
So, let’s get your kombucha game to a whole new level!
What is kombucha?
Kombucha is a fermented tea beverage made by fermenting sweetened tea with a SCOBY (Symbiotic Culture of Bacteria and Yeast). This living matrix of microorganisms drives the fermentation process and transforms the ordinary tea into a tangy, slightly acidic, effervescent, probiotic-rich beverage known as kombucha.
The unique taste and fizziness of kombucha are primarily developed during the first fermentation stage, which involves the following steps:
-
Preparation of sweetened tea: Typically, black or green tea is brewed and sweetened with sugar.
-
Introduction of SCOBY and starter liquid: The cooled sweetened tea is then inoculated with a SCOBY from a previous batch and starter liquid (previously brewed, unflavoured kombucha).
-
Fermentation: The mixture is allowed to ferment at room temperature for 7-14 days. During this time, the microorganisms in the SCOBY consume the sugar, producing various organic acids, such as acetic acid and lactic acid, carbon dioxide, and trace amounts of alcohol.
These compounds contribute to the kombucha's characteristic tartness and the initial level of carbonation. The fermentation process also imbues it with probiotic goodness that nurtures your gut.
Wondering why your gut deserves the best care? Watch the video below to find out how The Good Bug’s Gut Cleanse shots can support your gut better.
The well-fermented kombucha base sets the tone for introducing new flavours without overwhelming the natural balance. Let’s understand this second stage of fermentation in more detail.
What is second fermentation?
Following the initial fermentation, kombucha can undergo a secondary fermentation, often abbreviated as F2. This stage involves straining and transferring kombucha into airtight bottles along with flavourings such as fruit, herbs, or spices.
The primary purposes of second fermentation are twofold:
-
Build carbonation naturally: The sealed bottles used in the second fermentation trap the carbon dioxide (CO2) produced as a byproduct of the continued metabolic activity of the remaining yeast and bacteria. This trapped CO2 dissolves into the liquid, leading to the buildup of carbonation and creating the delightful fizz that makes kombucha so refreshing.
-
Infuse diverse flavours: The second fermentation provides an ideal base for introducing diverse flavours to plain kombucha. By adding fruits, herbs, spices, or juices, these flavour compounds have time to meld and infuse into the kombucha, creating more complex and nuanced taste profiles in the final beverage.
Are you ready to take your kombucha brewing to an exciting new stage? Let’s uncover the essential steps behind it!
How to do the kombucha second fermentation?
The second fermentation is where the magic of fizz and unique flavours truly unfolds, building upon the tangy foundation of your first ferment.
Here's a step-by-step guide to carrying out your kombucha second fermentation:
-
Ensure that your kombucha is ready: Before moving to the second fermentation (F2), ensure your first fermentation (F1) is complete. Look for a few key indicators:
-
Taste balance: It should taste noticeably tart but still have a hint of sweetness. If it's overly sweet, it needs more time in F1. If it's too vinegary, it has fermented for too long.
-
Visual cues: The SCOBY should have thickened slightly, and a new thin layer (pellicle) may have formed on the surface. The liquid should be translucent.
-
Preparation: Once your F1 is ready, carefully remove the SCOBY (the cellulose mat) from the jar and reserve about 1-2 cups of the kombucha liquid (this is your starter liquid for the next batch of F1). Place the SCOBY in a clean bowl with the starter liquid and set it aside in a safe place.
-
Add flavourings: This is when you add your chosen fruits, herbs, spices, or juices directly to the kombucha that you will be bottling.
-
Bottling: Carefully pour the flavoured kombucha into airtight bottles, leaving about 1-2 inches of headspace at the top. This headspace is crucial for the buildup of carbon dioxide during the second fermentation. Ensure the caps are tightly secured to create a sealed environment.
-
Let it ferment (F2): Place the sealed bottles of flavoured kombucha at room temperature for second fermentation. The duration typically ranges from 1 to 3 days, but this can vary depending on factors like temperature and the amount of sugar in your flavourings.
-
Fermentation conditions: The ideal temperature range for the second fermentation is generally between 20-24°C (68-75°F). Warmer temperatures will speed up the fermentation process and carbonation, while cooler temperatures will slow it down. Keep your bottles out of direct sunlight.
-
Monitoring: Keep an eye out for fermentation activity, such as bubbles, sediment forming at the bottom, or the development of a thin, scoby-like film on the surface. Be mindful of the fermentation time, as over-fermenting can lead to excessive carbonation and potential bottle explosions.
-
Testing: To test the carbonation level, gently chill one bottle in the refrigerator for a few hours. Cold temperatures help stabilise the CO2. Carefully and slowly open the chilled bottle over a sink. If it's fizzy, it’s ready. If it's not, allow the bottles to ferment for another 12-24 hours, then chill and test again.
-
Adjusting carbonation levels:
-
For more carbonation: You can try fermenting for a longer period (within a safe limit), using slightly warmer temperatures, or adding flavourings with a bit more natural sugar (like fruit juice).
-
For less carbonation: Ferment for a shorter period or at a slightly cooler temperature.
-
Storage: Once your kombucha has reached the desired level of carbonation, transfer all the bottles to the refrigerator. The cold temperature will significantly slow down the fermentation process, preventing excessive fizz and preserving the flavour. Your homemade flavored kombucha is now ready to enjoy!
If you’re feeling inspired to create a signature flavour, let's look at some amazing options!
How to add flavours to your kombucha?
Flavouring your kombucha is where your creativity can truly shine. The possibilities are as endless as your imagination. So, let’s see how you can flavour your kombucha after first fermentation and make it a truly personalised beverage.
When to add flavours?
The ideal time to add flavours to your kombucha is during the second fermentation (F2). Add your chosen ingredients directly into the bottles before you seal them for that bubbly magic to happen. The small amount of residual sugar in the kombucha and any natural sugars in your flavourings will fuel the continued fermentation, creating both the fizz and the infused taste.
How much flavouring to add?
Here's a general guide to how much flavouring to add per standard 16 oz (approximately 473 ml) bottle, keeping a ratio of around 70-90% kombucha to 10-30% flavouring as a starting point:
-
Fruits:
-
Fresh or frozen: Aim for roughly 1/4 to 1/3 cup (about 40-80 ml) of chopped fruit per bottle. Berries, sliced stone fruits, and diced tropical fruits work well.
-
Dried: Use sparingly, as the sugars are concentrated. Start with 1-2 tablespoons of chopped dried fruit per bottle. The fruit will rehydrate and release its flavour during fermentation.
-
Juice or puree: Use about 2-4 tablespoons (30-60 ml) of juice or puree per bottle. Be mindful of the sugar content, as too much can lead to over-carbonation.
-
Spices:
-
Ground: Start with just 1/8 to 1/4 teaspoon per bottle. Spices can be potent!
-
Whole: Use a few small pieces, like 2-3 whole cloves, a small cinnamon stick (remove before drinking), or a few slices of fresh ginger (about 1/4 inch).
-
Herbs:
-
Fresh: Use a few sprigs (e.g., 2-3 mint sprigs, a small rosemary sprig). You can gently bruise them to release more flavour.
-
Dried: Start with 1/4 to 1/2 teaspoon per bottle.
-
Other:
-
Ginger (fresh, grated): Start with about 1 teaspoon of grated ginger per bottle.
-
Extracts (vanilla, almond, etc.): Use sparingly, typically just a few drops (start with 1/4 teaspoon and adjust in future batches).
Also read: 10 Healthy Summer Drinks to Make with Kombucha
Flavour combinations to try
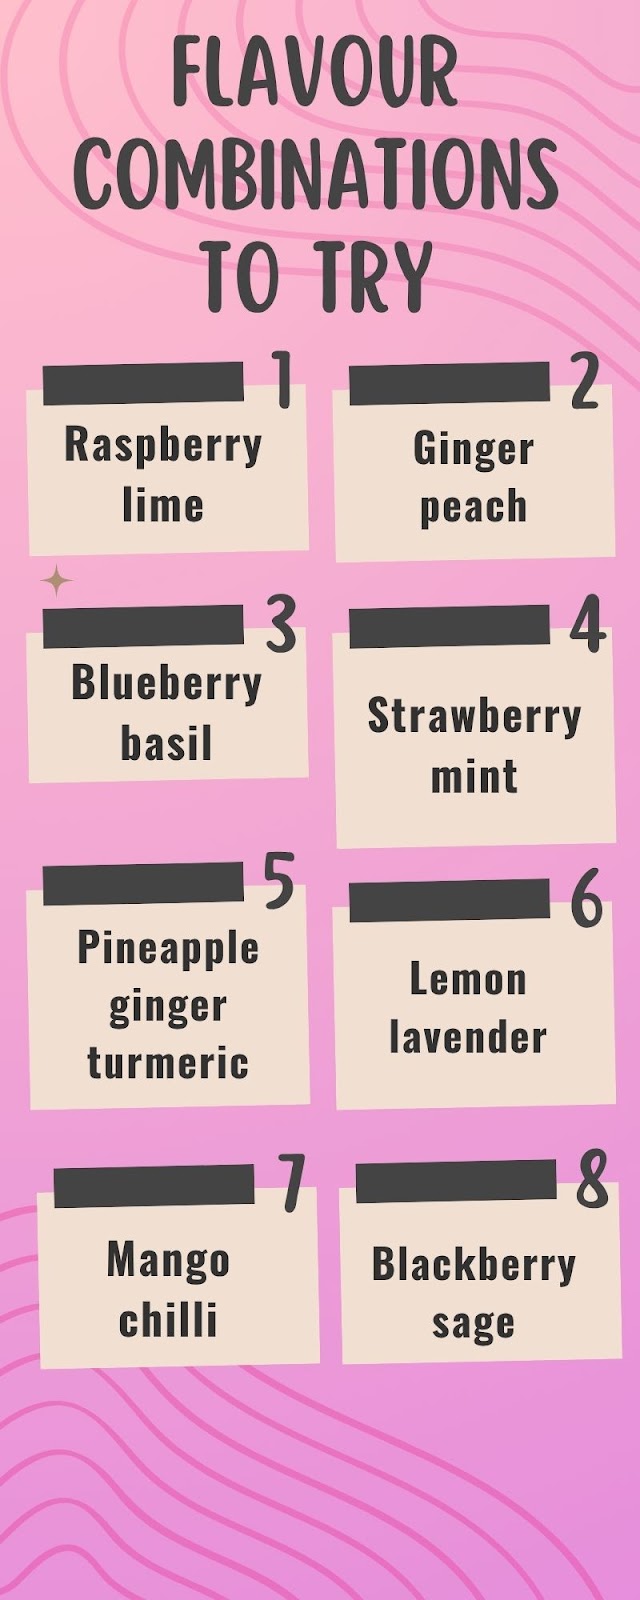
To spark your creativity, here are a few delicious flavour combination ideas to try in your kitchen:
-
Raspberry lime: The tangy burst of ripe raspberries meets with a zingy, refreshing lime.
-
Ginger peach: Experience the warm, subtle spice of ginger embracing the sweet, juicy flesh of a ripe peach.
-
Blueberry basil: The sweet, slightly tart flavour of blueberries mingles with the fresh, aromatic, and ever-so-slightly peppery note of basil.
-
Strawberry mint: The classic sweet and summery taste of strawberries perfectly complements the cool, invigorating sensation of mint.
-
Pineapple ginger turmeric: Get a taste of the tropics with bright, tangy pineapple balanced by the warm, pungent kick of ginger and the earthy, slightly bitter undertones of turmeric.
-
Lemon lavender: The bright, zesty lemon awakens your palate with a gentle touch of floral and subtly sweet aroma of lavender.
-
Mango chilli: The luscious, tropical sweetness of ripe mango and the warming hint of chilli adds an exciting twist to your kombucha.
-
Blackberry sage: The deep, slightly tart sweetness of blackberries balances the earthy, peppery, and aromatic character of sage.
Also read: Creating Healthy Matcha Kombucha Tea Drink at Home
Got your flavours sorted? Let's talk about choosing the perfect bottle to seal in all that deliciousness!
Choosing the right bottle for second fermentation
Selecting the right bottle for the second fermentation of kombucha is pivotal to achieving the perfect level of carbonation and ensuring safety. While the first fermentation takes place in jars that allow for gas exchange, the second phase demands airtight conditions.
This sealed environment traps the carbon dioxide (CO2) produced by the continued fermentation, giving your flavoured kombucha that delightful fizz.
So, which bottles are best suited for this bubbly endeavour? Here are your top choices:
-
Specifically designed kombucha brewing bottles (flip-top): These are often the gold standard. They are constructed from strong glass specifically designed to withstand the pressure that can build up during fermentation. Also, their flip-top closures create a tight seal and are easy to open and reseal for burping and tasting.
-
Thick glass bottles (swing-top or crown-cap): Sturdy, thick-walled glass bottles with swing-top or crown-cap closures can also work well. However, it's essential to ensure they are indeed robust enough to handle the pressure. If you're using crown-cap bottles, you'll need a bottle capper to seal them and a bottle opener to open them.
-
Avoid thin glass or repurposed juice/soda bottles: These are generally not recommended for second fermentation. They are often not strong enough to withstand the pressure buildup and can potentially crack or even explode, posing a safety risk.
The importance of burping the bottles
During the second fermentation, as the yeast and bacteria continue to work on the sugars (both residual from F1 and your flavourings), they produce more CO2. As the bottles are sealed, this pressure can build up significantly. This is where ‘burping’ comes in.
Burping is the simple act of briefly opening your F2 bottles to release this excess CO2. This crucial step helps prevent the bottles from over-pressurising and potentially exploding, ensuring a safer brewing process.
Here’s how you can burp the bottles:
-
Gently and slowly open the cap of each bottle.
-
As soon as you hear a slight hiss as the gas escapes, quickly reseal it.
-
Do this over a sink, in case there's a little overflow.
The frequency of burping should be adjusted based on the speed of fermentation. Start by burping your bottles once a day. If you notice significant pressure buildup (the bottles feel very hard), burp them twice a day.
You can often reduce burping frequency once the bottles are refrigerated, as the cold slows down fermentation.
Also read: The Tangy Twins: Is Kombucha Like Apple Cider Vinegar?
Let’s make kombucha crafting spot-on by following some essential tips!
Essential tips for successful kombucha second fermentation
Second fermentation might seem effortless, but do you want to ensure you create a perfect batch of kombucha every time? Here are some crucial tips to follow to make your second fermentation both flavourful and safe:
-
Start with a healthy F1: A robust and well-balanced first fermentation provides the ideal foundation for a successful second fermentation. If your F1 is weak or has off-flavours, these issues will likely carry over into your flavoured brew.
-
Don't overfill your bottles: It's crucial to leave adequate headspace (about 1-2 inches from the top). This space allows for the buildup of carbon dioxide without creating excessive pressure that could lead to leaks or even breakage.
-
Use appropriate bottles: Invest in strong, airtight bottles designed for pressure, such as flip-top kombucha bottles or sturdy swing-top bottles. Avoid thin glass or repurposed commercial bottles that may not withstand the fermentation pressure.
-
Burp your bottles regularly, especially during the initial 1-2 days of the second ferment, and if your ambient temperature is warm. Regular burping releases excess CO2 and significantly reduces the risk of bottle explosions.
-
Monitor fermentation time: Keep a close eye on how long your kombucha is undergoing second fermentation at room temperature. Warmer temperatures can accelerate the process. Over-fermenting can lead to overly carbonated and potentially explosive bottles. A typical range is 1-3 days, but this can vary.
-
Taste as you go: Once you think your kombucha might be ready, chill one bottle thoroughly in the refrigerator. Then, carefully and slowly open it to test the carbonation and flavour. This chilled test is much safer than opening a warm, pressurised bottle.
-
Sanitise everything: Maintaining a clean brewing environment is paramount at every stage, including second fermentation. Ensure that the bottles and equipment you use for transferring or flavouring are properly sanitised to prevent the growth of mould or unwanted bacteria that could spoil your brew.
Pro tip: Be cautious when opening bottles that have undergone a warm second fermentation. The warmer the kombucha, the more volatile the dissolved CO2. Chill your bottles in the refrigerator for at least a few hours before opening. The cold temperature helps the CO2 dissolve back into the liquid, reducing the pressure and significantly minimising the risk of messy overflows and potential bottle mishaps.
You're now an expert at transforming your basic kombucha into a delightful drink. The kombucha second fermentation stage is your chance to make each bottle uniquely delicious and packed with effervescent excitement.
Don't hesitate to experiment with the incredible array of fruits, herbs, and spices available—your taste buds will thank you for the bubbly adventure!
Do you want to take your kombucha journey further? The Good Bug's kombucha is crafted with a unique blend of live and active cultures, offering a refreshing and gut-friendly alternative to traditional kombucha. Visit our website to explore our range of delicious flavours and discover a bubbly way to support your well-being!
References:
https://www.youbrewkombucha.com/guide-to-2nd-fermentation
https://fermentaholics.com/kombucha-second-fermentation/
https://kombucha.com/blogs/tutorials/secondary-fermentation-f2-brewing-instructions
https://smashedpeasandcarrots.com/make-kombucha-second-fermentation/
https://culturesforhealth.com/blogs/learn/kombucha-flavoring-bottling-kombucha
